Raspberry Pi is one of the best and inexpensive single-board computers out there. If you are a tech hobbyist, then it opens the door for nearly everything from building a smart speaker to creating your personal VPN server. That said, you need a separate monitor to set up the Raspberry Pi, which adds to the overall cost. However, there is a nifty way to use your Windows laptop as a monitor for Raspberry Pi. In this tutorial, we have explained the steps to connect Raspberry Pi to a Windows laptop in simple terms. On that note, let’s go ahead and learn how to connect Raspberry Pi to a laptop display.
Use Windows Laptop As Monitor for Raspberry Pi (2021)
In this guide, I am using Raspberry Pi 4 Model B to demonstrate all the steps. However, if you have an old Raspberry Pi, there is nothing to worry about. I have mentioned separate steps for old boards too. You can click on the table below and jump to the relevant section right away.
Requirements
1. First off, to use a Windows laptop as a monitor for Raspberry Pi, you need an ethernet cable. You can then connect the Raspberry Pi to your Windows 10 laptop directly or to your router. I would recommend connecting to the laptop directly for a faster connection.
2. Next, you need a microSD card of a minimum of 16GB in size.
Downloads
1. You need to download Raspbian OS from here. I suggest downloading “Raspberry Pi OS with desktop and recommended software” on the web page that opens. It will have all the required packages, utilities, and dependencies.
2. After that, download balenaEtcher (Free) to flash Raspbian OS onto the SD card.
3. Next, download Putty (Free) for connecting your laptop to the Raspberry Pi’s console.
4. Finally, download VNC Viewer (Free) so that you can access the desktop environment of Raspberry Pi on your Windows laptop.
Flash Raspbian OS on Raspberry Pi
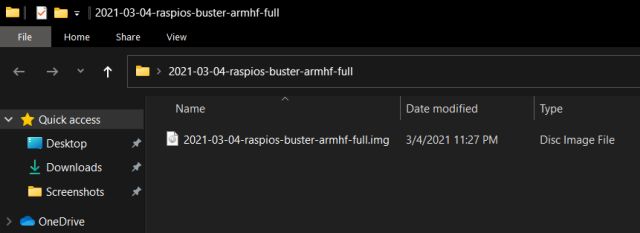
1. Once you have downloaded Raspbian OS, extract the ZIP file. You will get an IMG file.
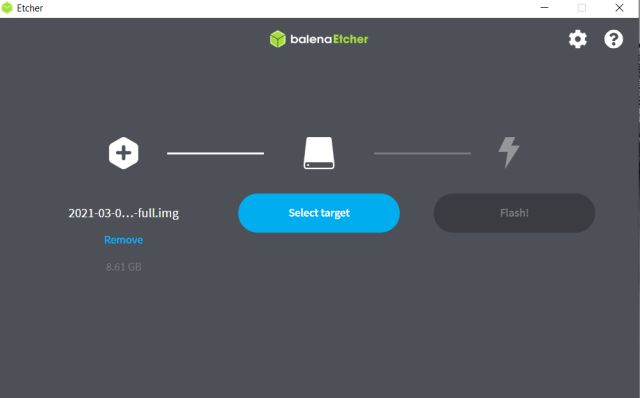
2. Next, install balenaEtcher and open it. Select the extracted image and choose the SD card under the “Select target” option. After that, click on “Flash“.
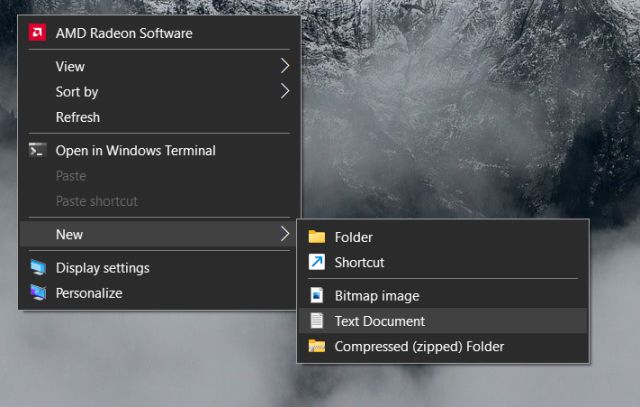
3. Once the flashing process is complete, you need to follow one more step to enable SSH. Create an empty text file on the desktop. To do that, right-click on your desktop and select “New -> Text Document” to create the file.
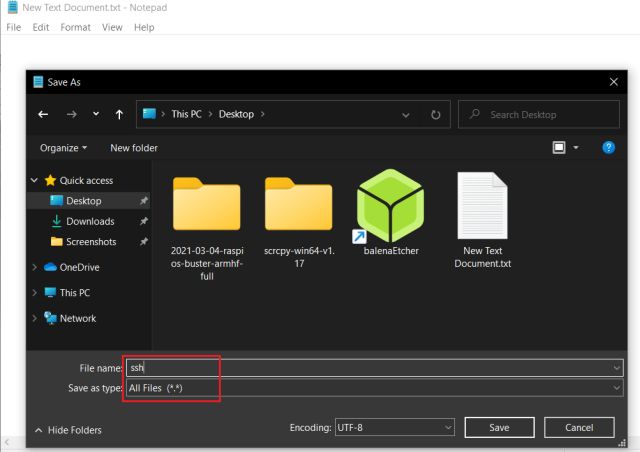
4. Now, open the text file and save it as a ssh file with no extension. Simply select “All files” from the “Save as type” drop-down menu. Make sure there is no extension added to the filename.
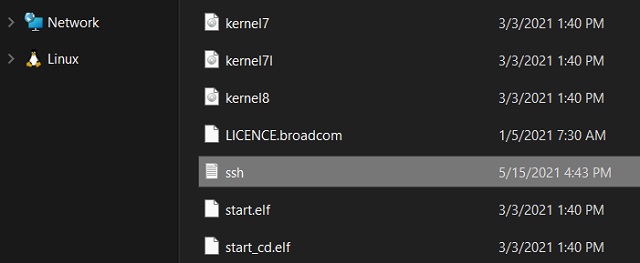
5. Finally, move the ssh file to the root directory of the flashed SD card. You are done on this front. Remove the SD card from your laptop and insert it into the Raspberry Pi.
Connect Raspberry Pi to Windows Laptop Display
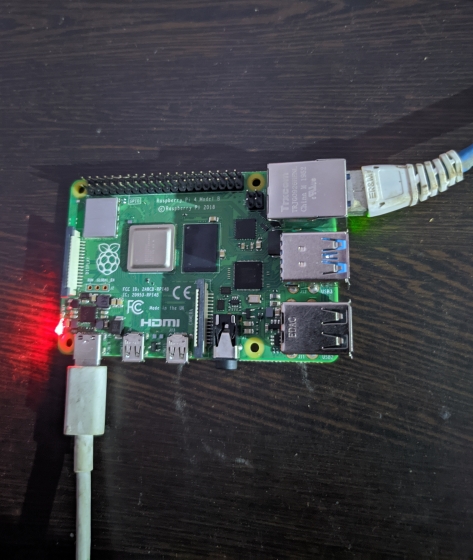
1. Use the ethernet cable and connect the Raspberry Pi to your Windows laptop. After that, connect the Raspberry Pi to a power source using a USB Type-C cable. You can also use your laptop’s USB port as a power source.
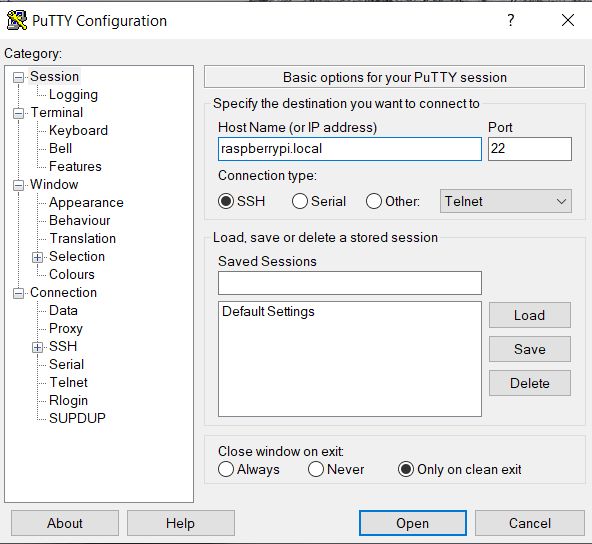
2. Next, install Putty and open it. You don’t need to change any default settings. Just enter raspberrypi.local in the Host Name field. And make sure “SSH” is selected as the Connection type. Finally, click on “Open” at the bottom.
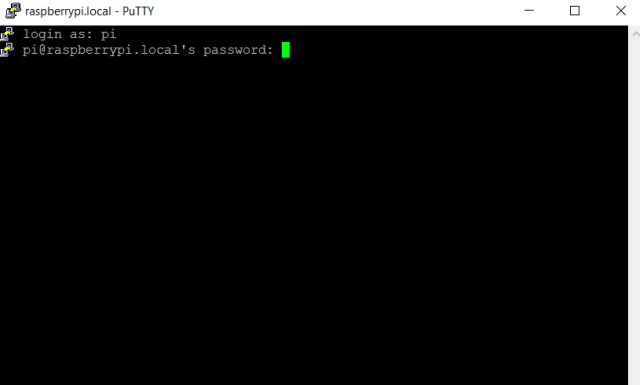
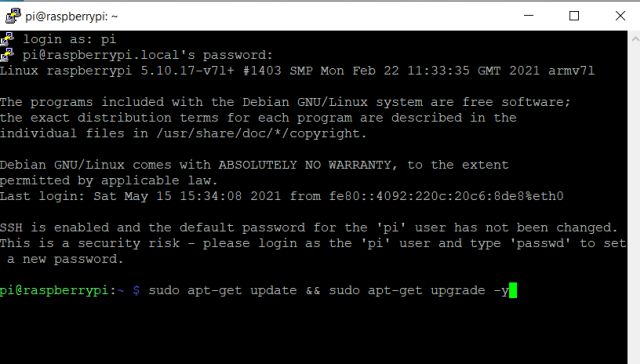
3. A console window will then open up. By default, Raspberry Pi’s username is pi and password is raspberry. Enter these details on the console window and hit enter. You will successfully log into Raspberry Pi’s console.
4. As you are using your Raspberry Pi for the first time, it’s better to run the below command to update all the packages and dependencies to the latest version. You can skip this step if you have already updated your RPi. Note that you will need an internet connection on your Windows 10 laptop to execute this command. If you can’t update it right away, you can skip this step.
sudo apt-get update && sudo apt-get upgrade -y
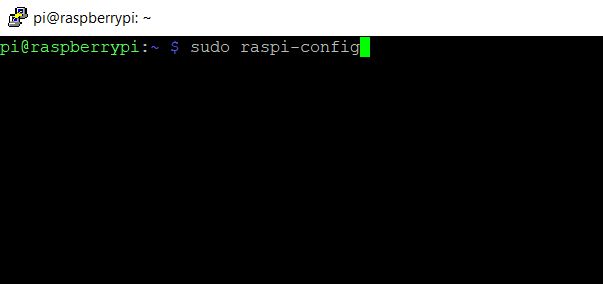
5. Once the update is installed, enter the command sudo raspi-config and hit enter.
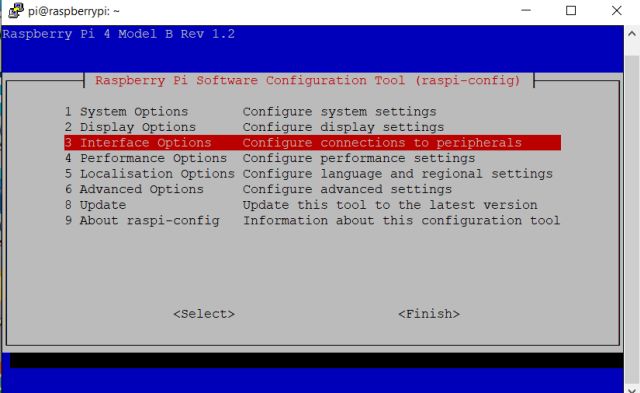
6. It will launch the configuration tool for Raspberry Pi. Move to “Interface Options” or “Interfacing Options” using the keyboard’s arrow keys. Then, hit Enter.
7. Under Interface options, move to “VNC” and hit enter.
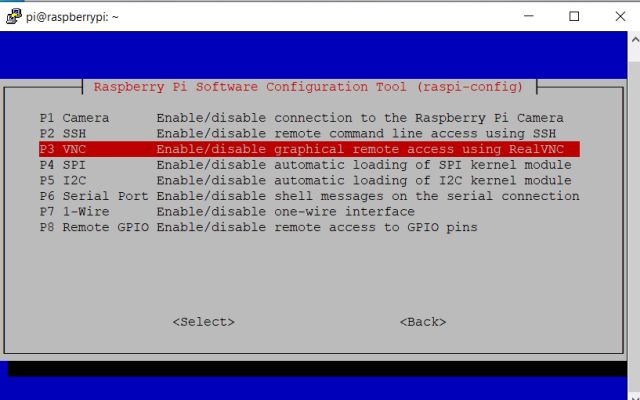
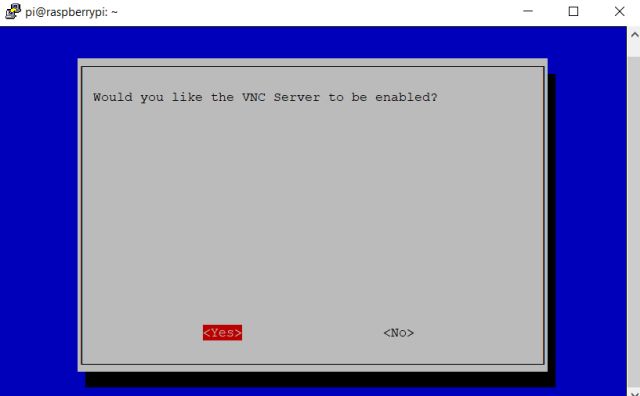
8. On the next page, choose “Yes” and hit enter.
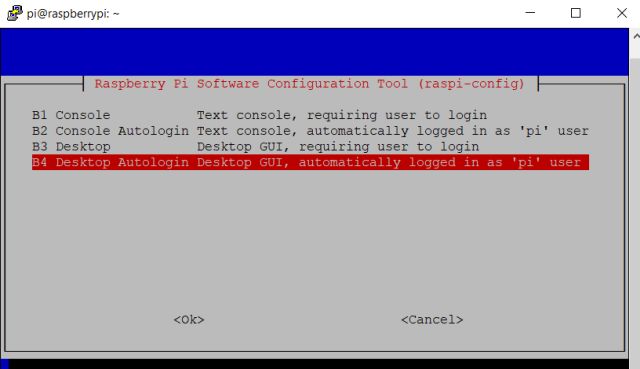
9. After that, open “System Options” and go to “Boot/ Auto Login”. Next, move to the “Desktop Autologin” option. If you are using an old Raspberry Pi, navigate to Boot “Options -> Desktop/ CLI -> Desktop Autologin”.
10. Finally, hit enter to apply the changes. Next, move to “Finish” by pressing Tab and hit Enter. It will reboot your Raspberry Pi, and the SSH session will end. Now, close Putty and other windows.

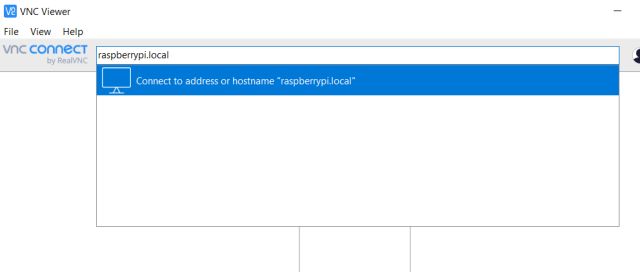
11. Now, install VNC Viewer and open it. Enter raspberrypi.local and hit enter.
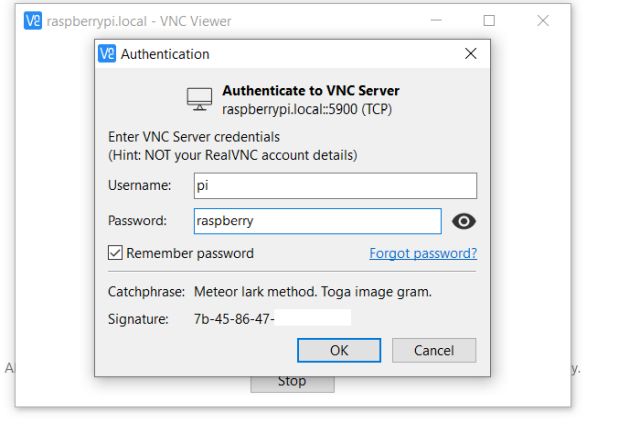
12. Then, a prompt will appear, click on “Continue”. On the next window, enter your RPi’s credentials, username: pi and password: raspberry. Now, click on “OK”.
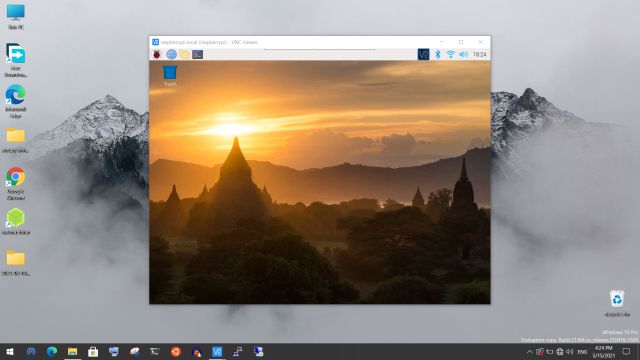
13. Within seconds, the Raspberry Pi’s screen will be live on your Windows 10 laptop’s display. Now, go through the on-screen instructions and set up Raspberry Pi. If you get any errors, move to the next section.
Fix “Cannot currently show the desktop” Error on Windows Laptop While Connecting to Raspberry Pi
If you get the “Cannot currently show the desktop” error while trying to connect your Raspberry Pi to a laptop display, there is nothing to worry about. Follow the steps below to fix the issue.
1. Close all the windows and fire up Putty. Follow the same steps as above and connect to Raspberry Pi’s console once again. To explain briefly, enter raspberrypi.local as the Host Name, select “SSH” and click on “Open”.
2. Next, enter RPi’s credentials and hit enter. Now, enter sudo raspi-config to open the Configuration tool.
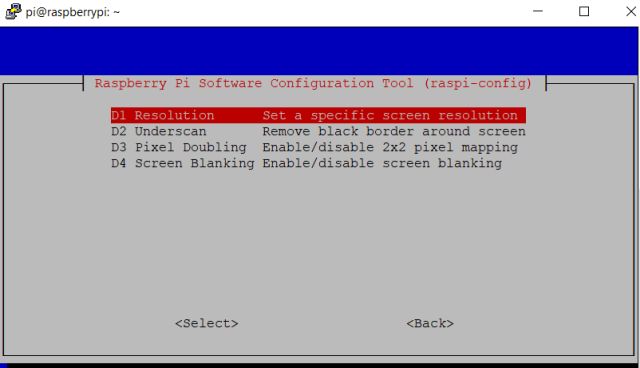
3. Here, open “Display Options” and navigate to “Resolution”. But if you have an old Raspberry Pi, you will find this setting under “Advanced Options”.
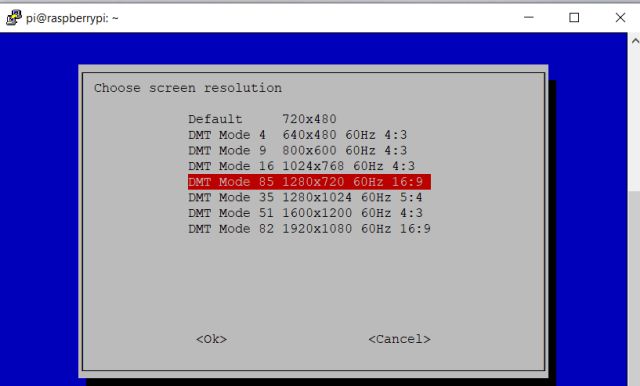
4. Choose a resolution other than “Default”. According to your laptop’s aspect ratio and display resolution, you can choose any other mode.
5. Now, press Tab to move to “Finish” and close the Putty session.
6. Finally, open VNC Viewer, and this time, you will be able to connect to Raspberry Pi’s desktop environment without any issues. If the “Cannot currently show the desktop” error persists, keep changing the resolution and check which one works for you. That’s it.
Connect Raspberry Pi to a Laptop Display in 2021
So this is how you can use your Windows 10 laptop as a monitor for Raspberry Pi. The steps may seem lengthy, but believe me, it’s easy and doable. You need to follow the instructions step-by-step, and you will be ready to use the Raspberry Pi in no time. If you face any issues while setting up Raspberry Pi without a monitor, comment down below, and we will help you out. And if you have managed to connect Raspberry Pi to your Windows laptop, go ahead and find the best Raspberry Pi 4 projects from our linked article.

Comments
Post a Comment