
PUBG Mobile's Bluehole mode is live now, and that means you can experience all new gameplay to try and get that Chicken Dinner. I have played a bunch of matches in Bluehole Mode (or Safety Scramble Mode) and they have all been high-kill games with a lot of action and fast paced decision making. So, if you are wondering how to make the best of the new mode, here are some PUBG Mobile Bluehole Mode tips and tricks that you can use.
PUBG Mobile Bluehole Mode Tips and Tricks
1. Use the Second Zone to Your Advantage
As you must already know, Bluehole mode adds a second inner zone to the game. This blue-purple zone gives you damage if you are inside it. However, this is also the same area that becomes the next safe zone.
What that means is that you can use this information to your advantage. After all, basically you will always know where the next zone is, so you can play accordingly.
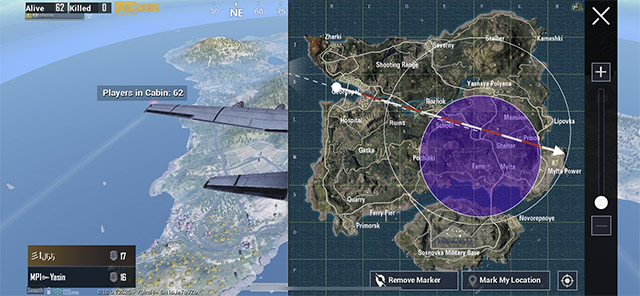
You can ensure you are close enough to enter the next zone when it becomes safe, or you can start looking for vehicles if you are far away from the zone. The Bluehole mode basically gives you more information to create your gameplay strategy around.
2. Try to Stick Close to the Second Zone
Once you've gathered weapons and supplies, the best thing that I found was to stick close to the second zone. You'll know why in the next tip I have.
Sticking close to the second zone means you can very quickly enter the next safe zone without worrying about exposing yourself to enemies for too long. It's also useful because you can scope out good spots for sniping or taking cover inside the next zone. That's essential because if you leave yourself in the open you will most definitely get killed.
3. You Can Find a Lot of Enemies Around the Edge of the Bluehole
Because the Bluehole becomes the next zone, a lot of players roam around the edges of the inner zone. This means, if you have a sniper with a nice scope, you can pick these guys out from a distance. They won't even know what hit them.
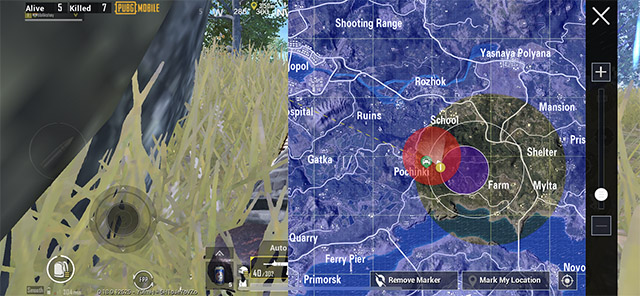
Sniping is extremely useful in any PUBG Mobile mode, and if you are an absolute beginner at sniper rifles, you should check out our PUBG Mobile Sniping guide for some useful beginner tips and tricks.
4. Consider Going Inside the Inner Zone (High Risk)
Coming back to the Bluehole mode though, some experienced players might actually go into the inner zone towards the starting of the game. This is a high-risk move, but it can reward you as well. If you go inside the zone, you will have less competition for loot. Plus, if you do it at the first one or two zones, you will not take too much damage either. However, I would recommend landing outside the inner zone, finding a vehicle and then going inside so you don't take unnecessary damage.
5. Item Spawns are 50% More, Gather Up on Essential Supplies
In the Bluehole mode Erangel spawns 50% more items of all types. That means more guns, more ammo, easier access to scopes. In just my first game, I found an M416, a Kar98k, 8x, 6x, and 4x scopes in just the first few minutes of the game.
The same rules apply though: you get better and more loot in places with dense buildings. You know, Pochinki, Military Base, School.
However, if you like playing slow and safe, landing at a relatively empty spot is also more likely to give you better guns than usual in Bluehole mode. Decide your landing spot well in advance.
Get that Chicken Dinner in Bluehole Mode
So far, these are the tips I realised while playing Bluehole mode in PUBG Mobile. As I play more, I will update this article with any new information I find, or any handy tricks that I think you guys will appreciate. Meanwhile, if you know of any handy tips and tricks for Bluehole mode, let me know in the comments. I will be more than happy to have some help while playing this new mode.
Comments
Post a Comment