How to Remotely Access Your Raspberry Pi from Windows, Mac, Linux, & Chrome OS
We have already written a detailed guide on how to use a Windows laptop as a monitor for Raspberry Pi, and it requires a wired ethernet connection. However, if you want to remotely access Raspberry Pi from your Windows 10, Mac, or Linux PC, you can do so with Wi-Fi and VNC server. In this article, we also explain the steps to connect to your Raspberry Pi remotely from a Chromebook in detail. Even if you are a beginner, you can follow the instructions and get it running in a few minutes. So without any delay, let’s go through the tutorial.
Remotely Access Raspberry Pi From Windows, Mac, Linux & Chromebook (2021)
Before establishing a remote connection, you will need to connect Raspberry Pi to your computer through the wired ethernet medium for a quick one-time setup. This is essential to connect the Raspberry Pi to your Wi-Fi home network. As a result, an IP address will be assigned to your Raspberry Pi. The IP address will allow us to remotely connect to Raspberry Pi from your Windows 10, Mac, Chrome OS or Linux PC.
Requirements
1. You need an ethernet cable for a one-time setup.
2. You also need a microSD card of a minimum of 16GB in size.
Downloads
1. You need to download Raspbian OS from here. I suggest downloading “Raspberry Pi OS with desktop and recommended software” on the web page that opens. It will have all the required packages, utilities, and dependencies.
2. After that, download balenaEtcher (Free) to flash Raspbian OS onto the SD card. balenaEtcher is available on Windows, macOS & Linux. Chromebook users will have to use one of these platforms to flash the SD card.
Flash Raspbian OS on Raspberry Pi
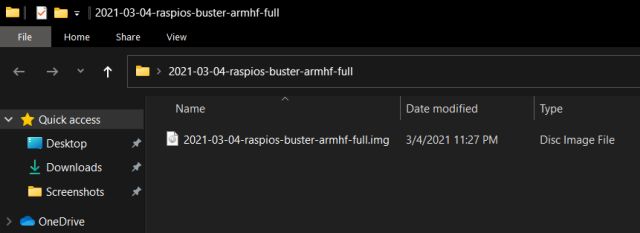
1. Once you have downloaded Raspbian OS, extract the ZIP file. You will then get an IMG file.
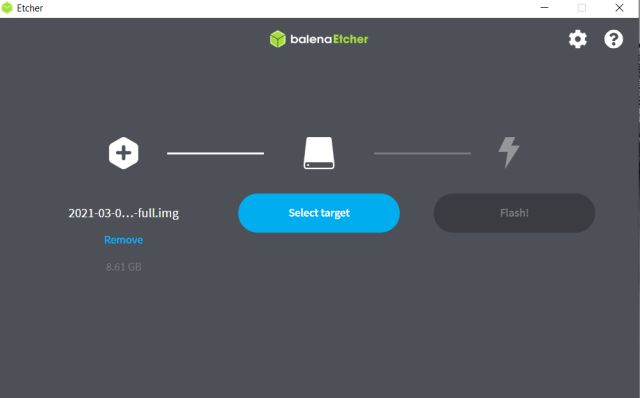
2. Next, install balenaEtcher and open it. Select the extracted image and choose the SD card under the “Select target” option. After that, click on “Flash“.
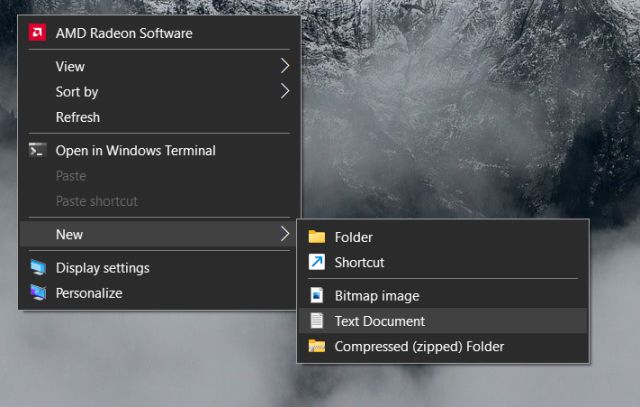
3. Once the flashing process is complete, you need to follow one more step to enable SSH. Create an empty text file on the desktop. To do that on Windows, right-click on your desktop and select “New -> Text Document” to create the file. Follow similar steps according to your OS.
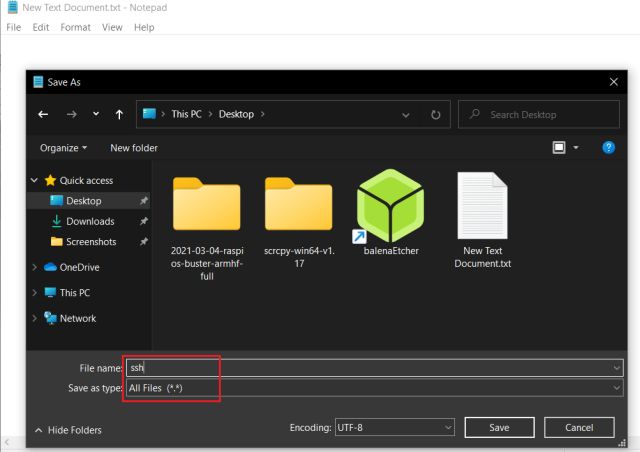
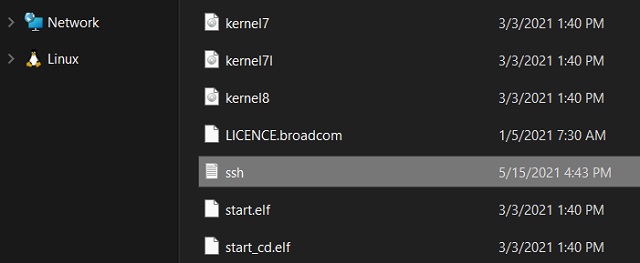
4. Now, open the text file and save it as a ssh file with no extension. For Windows users, simply select “All files” from the “Save as type” drop-down menu. Other OS users must ensure there is no extension added to the filename.
5. Next, move the ssh file to the root directory of the flashed SD card. You are done on this front. Remove the SD card from your computer and insert it into the Raspberry Pi.
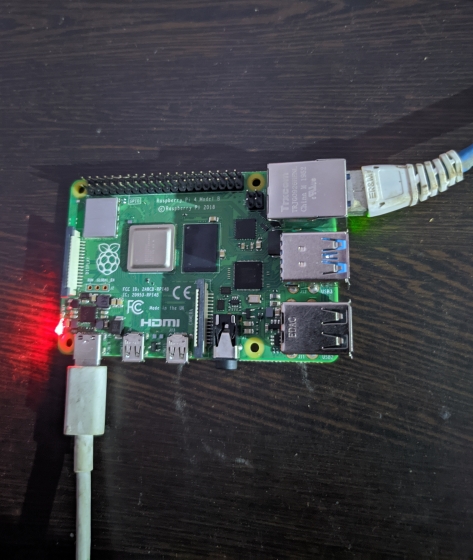
6. Finally, use the ethernet cable and connect the Raspberry Pi to your computer. After that, connect the Raspberry Pi to a power source using a USB Type-C cable. You can also use your laptop’s USB port as a power source.
Enable VNC and Desktop Environment
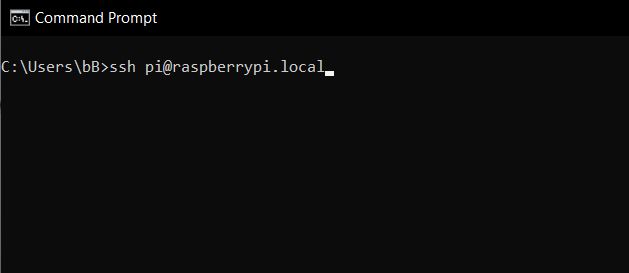
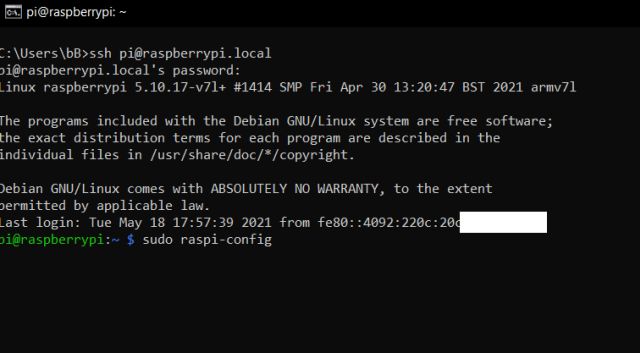
1. Now that you have connected the Raspberry Pi through ethernet, you need to access RPi’s console through SSH. For Windows users, open the Command Prompt and enter the below command, and hit enter. If you are using macOS, Chrome OS, or Linux, open the Terminal and run the same command. After that, type yes and hit enter.
ssh pi@raspberrypi.local
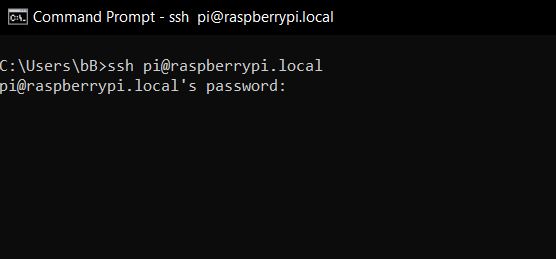
2. It will ask for your Raspberry Pi password. The default password is raspberry. Type in the password and hit enter. If you have changed the password in a previous setup, enter that password. By the way, if you aren’t aware, the default username is pi.
3. You will log in as pi instantly. Now, run the below command to open the Configuration tool.
sudo raspi-config
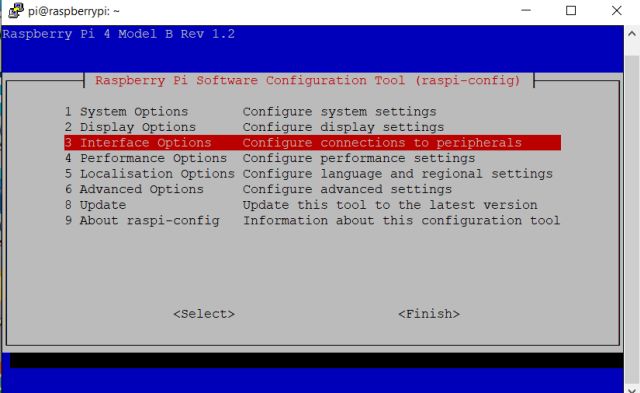
4. Move to “Interface Options” or “Interfacing Options” using the keyboard and hit Enter.
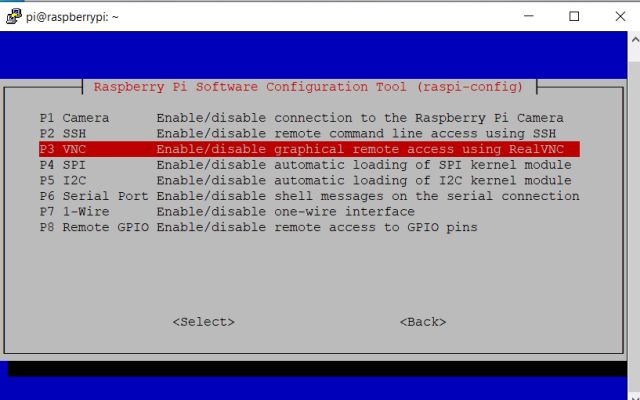
5. Under Interface options, move to “VNC” and hit enter.
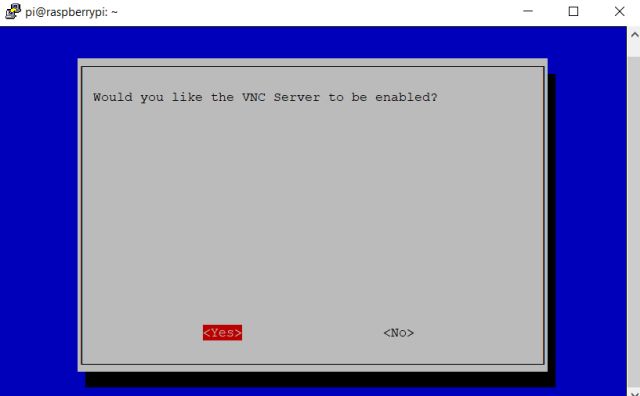
6. On the next page, choose “Yes“and hit enter.
7. After that, open “System Options” and go to “Boot/ Auto Login”. Next, move to the “Desktop Autologin” option. If you are using an old Raspberry Pi, navigate to Boot “Options -> Desktop/ CLI -> Desktop Autologin”.
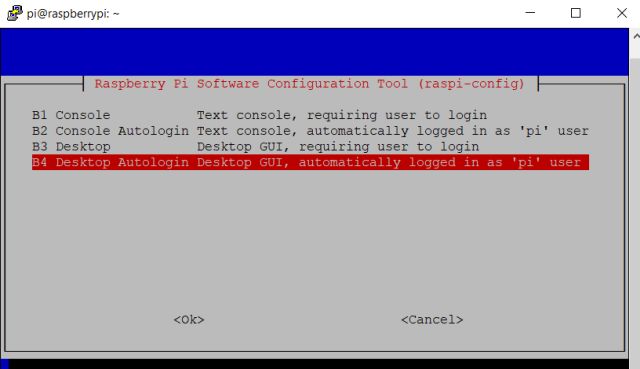
8. Finally, hit enter to apply the changes. Next, move to “Finish” by pressing Tab and hit Enter. It will reboot your Raspberry Pi, and the SSH session will end. Now, type exit to close the session.

Remotely Connect to Raspberry Pi From Chromebook or Windows, Mac, and Linux PC
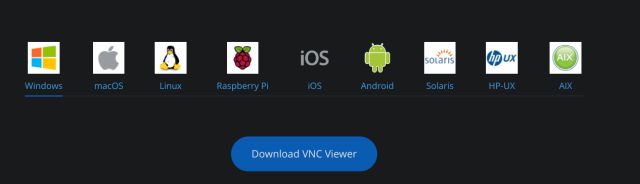
1. You have finally enabled VNC and Desktop environment on your Raspberry Pi. Now, go ahead and download VNC Viewer (Free) on your computer. It lets you access the desktop environment of Raspberry Pi remotely on various platforms. The program is available for Windows, macOS, Linux, and Chromebook.
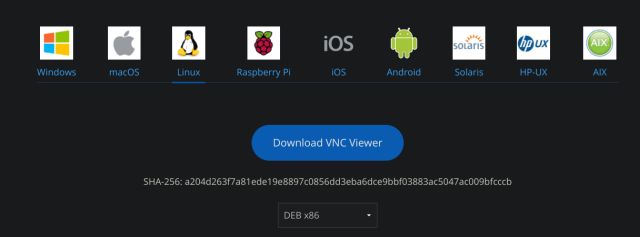
2. Chromebook users will have to download the Linux file and install the DEB file.
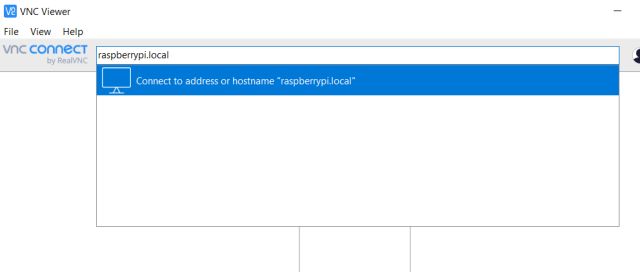
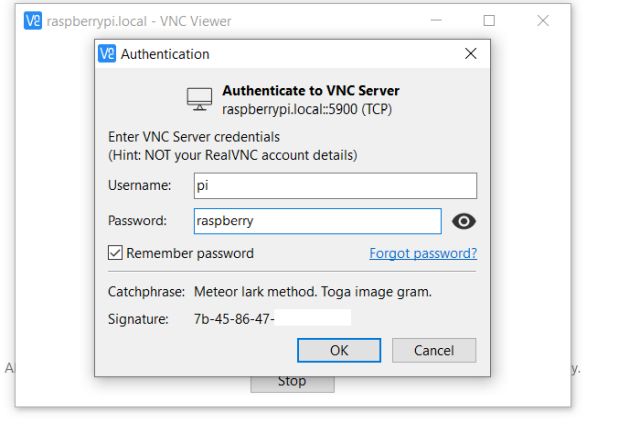
3. Now, install VNC Viewer and open it. Enter raspberrypi.local and hit enter.
4. Then, a prompt will appear, click on “Continue”. On the next window, enter your RPi’s credentials, username: pi and password: raspberry. Now, click on “OK”.
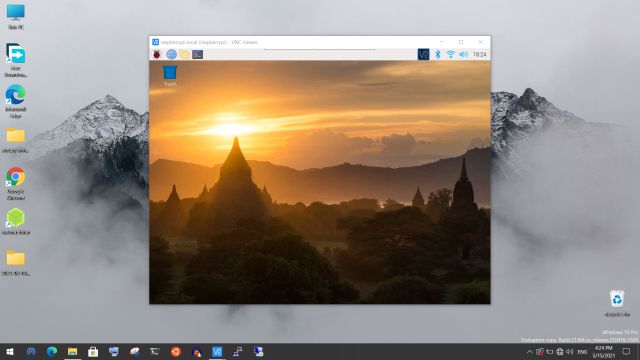
5. Within seconds, the Raspberry Pi’s screen will be live on your computer. If you get any errors, move to the Troubleshoot section below.
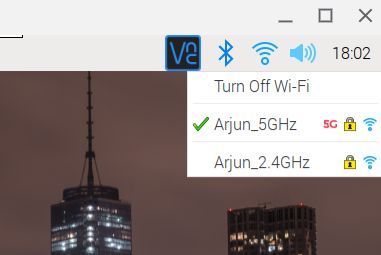
6. Now, go through the on-screen instructions and set up Raspberry Pi. I would recommend you change the default password during the setup. After that, connect to your home Wi-Fi WiFi network from the menu bar at the top. This is an important step as it will help us get the IP address.
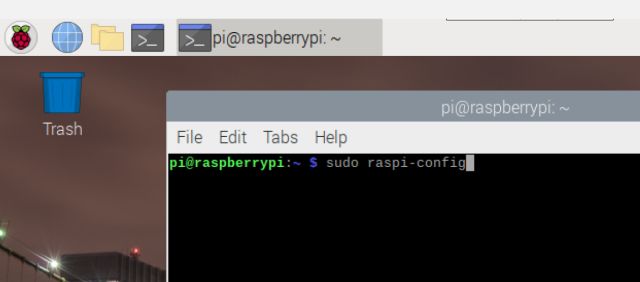
7. Once you are connected to Wi-Fi, open the Terminal on your Raspberry Pi and run the below command to open the Configuration tool.
sudo raspi-config
8. You need to follow the same step again to enable VNC. Move to “Interface Options” and then hit Enter.
9. Under Interface options, move to “VNC” and hit enter.
10. On the next page, choose “Yes” to enable the VNC server.
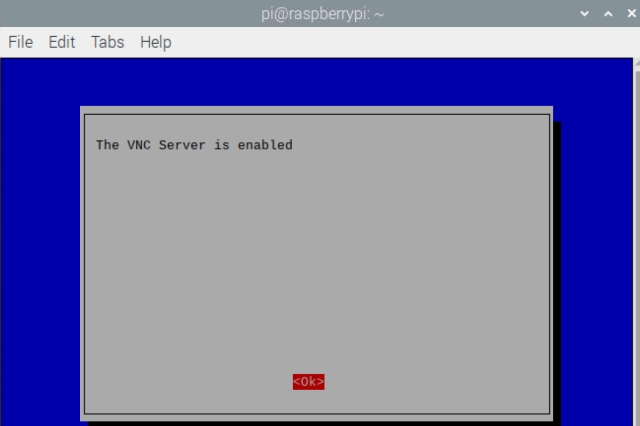
11. This time, as you are connected to the internet, Raspberry Pi will start downloading the VNC server. After the installation, you are all set. You should see a message saying “The VNC server is enabled” on the screen.
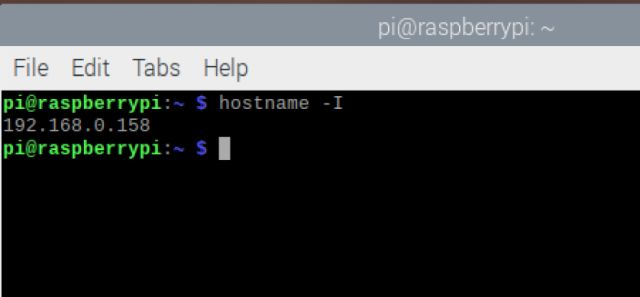
12. Now, open the Terminal and enter the command hostname -I, and hit enter. This is the IP address of your Raspberry Pi.
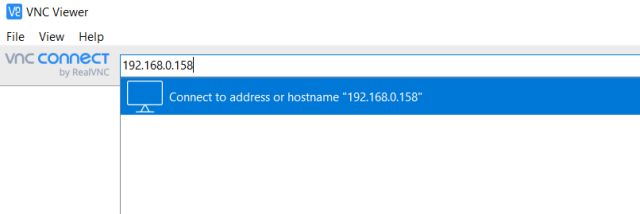
13. Now, you can disconnect the ethernet cable and keep it connected to a power source. Open the VNC Viewer on any computer, be it a Windows 10, macOS or Linux PC or Chromebook, in the home network and enter the IP address. Then, hit enter.
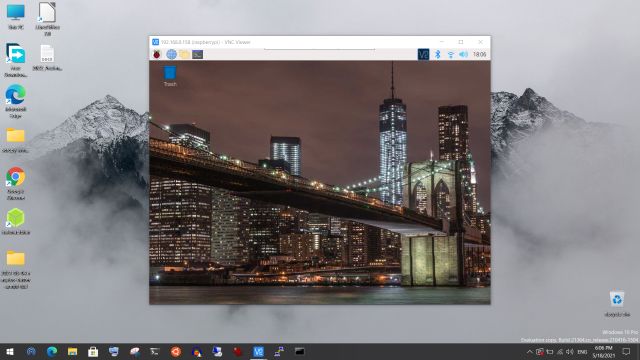
14. Enter Raspberry Pi’s login credentials, and there you go. You can access Raspberry Pi remotely from your Windows PC, Mac, Chromebook, or Linux machine. Now onwards, you only have to fire up VNC Viewer, and you can remotely perform any task you want.
Note: You can even access Raspberry Pi from your Android or iOS smartphone using the VNC Viewer app (Android / iOS — Free).
15. Here’s a quick demo, where I am able to remotely access Raspberry Pi from my Chromebook as well.

Troubleshoot Guide – Common Raspberry Pi Issues
1. If you get the “Cannot currently show the desktop” error then follow these steps to fix the issue. Open Command Prompt or Terminal and enter the below command, and hit enter.
ssh pi@raspberrypi.local
2. Enter raspberry as password and hit enter. If you have changed the password earlier then enter that password.
3. You will log in as pi. Now, run the below command to launch the Configuration tool.
sudo raspi-config
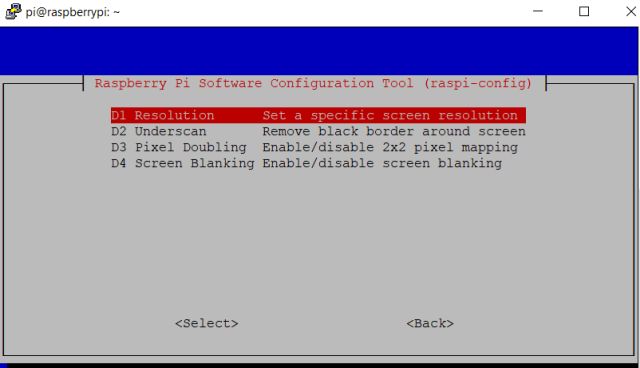
4. Here, open “Display Options” and navigate to “Resolution”. But if you have an old Raspberry Pi, you will find this setting under “Advanced Options”.
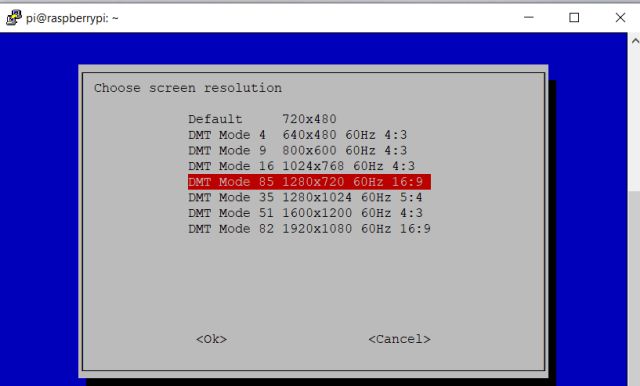
5. Choose a resolution other than “Default”. According to your laptop’s aspect ratio and display resolution, you can choose any other mode.
6. Now, press Tab to move to “Finish” and close the window.
7. Finally, open VNC Viewer, and this time, you will be able to connect to Raspberry Pi’s desktop environment without any issues. If the “Cannot currently show the desktop” error persists, keep changing the resolution and check which one works for you.
Use Raspberry Pi From Your Windows, Mac, Linux or Chrome OS Computer
So this is how you can remotely access your Raspberry Pi on any platform, be it Linux, Mac, Windows or Chrome OS, without an ethernet cable or a separate monitor. I have written the steps from scratch for beginners. However, if you have already set up your Raspberry Pi, you can simply move to the last section. Anyway, that is all from us. If you want to set up Pi-hole on your Raspberry Pi to block ads and trackers, head over to our detailed guide linked here. And if you have any questions, comment down below and let us know. We will try to help you out.
- by Techtonic Group

Comments
Post a Comment